Binary image skeletonisation with Python
I’ve been looking to do some skeletonisation using python libraries and found something that did precisely that using the third party python package scikit-image. It was so quick to implement (after having spent a while trying to roll my own version) I thought I’d share it with everyone.
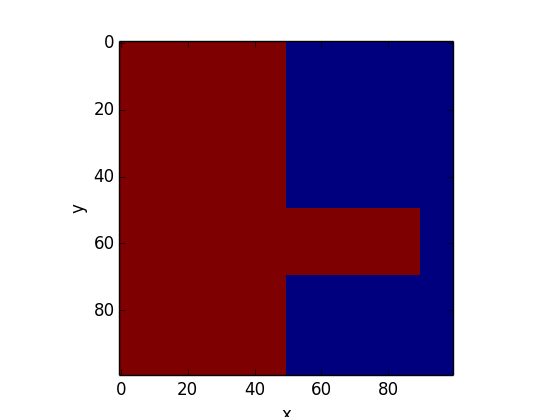
Let’s first make some toy data to play with called arr.
import numpy as np

arr = np.ones([100,100])
arr[:, 50:100]=0
arr[50:70, 50:90]=1
Now, import the medial_axis function from skimage.morphology which comes as part of the scikit-image package. If you are using a canopy distribution with an academic license, this is available in the package manager.
from skimage.morphology import medial_axisUsing our toy data, we are now going to create two arrays - one a boolean array called skeleton and the other the distance transform called distance.
skeleton, distance = medial_axis(arr, return_distance=True)We can mask out the distance array by multiplying it by the boolean array skeleton:
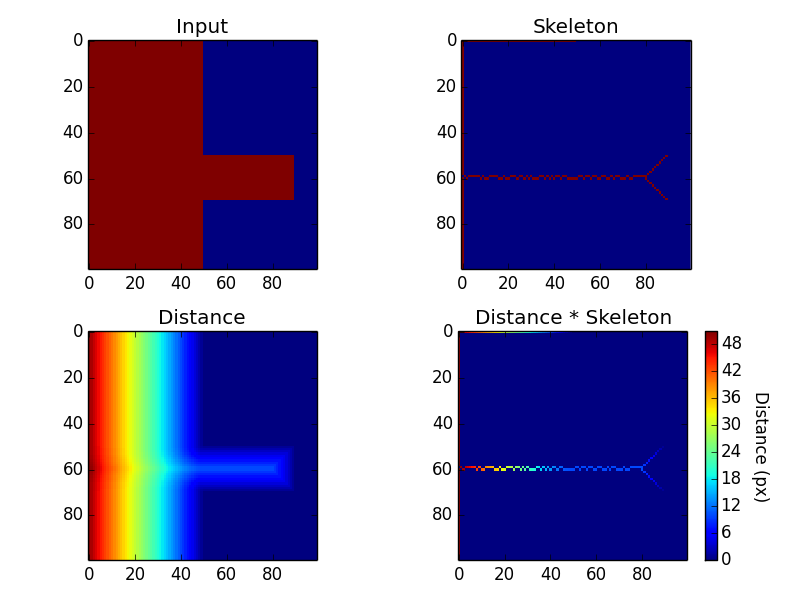
dist_masked = distance * skeletonWe now have a boolean skeleton array, distance array and clipped distance array showing distances where the skelton pixels lie. Althogther, these look like:

Essentialy what we have done is calculate the distance transform (distance) of the initial input array (arr) which has then been used to create a boolean array (skeleton) based on local maximum distance values. For the red cells extending out of the block to the left of the original image, this local maximum falls expectedly along the centre of this stretch of pixels. The skeleton can then be seen to continue up the left hand side of the red region to the left - the area furthest from the blue cells on the right of arr.
More info here